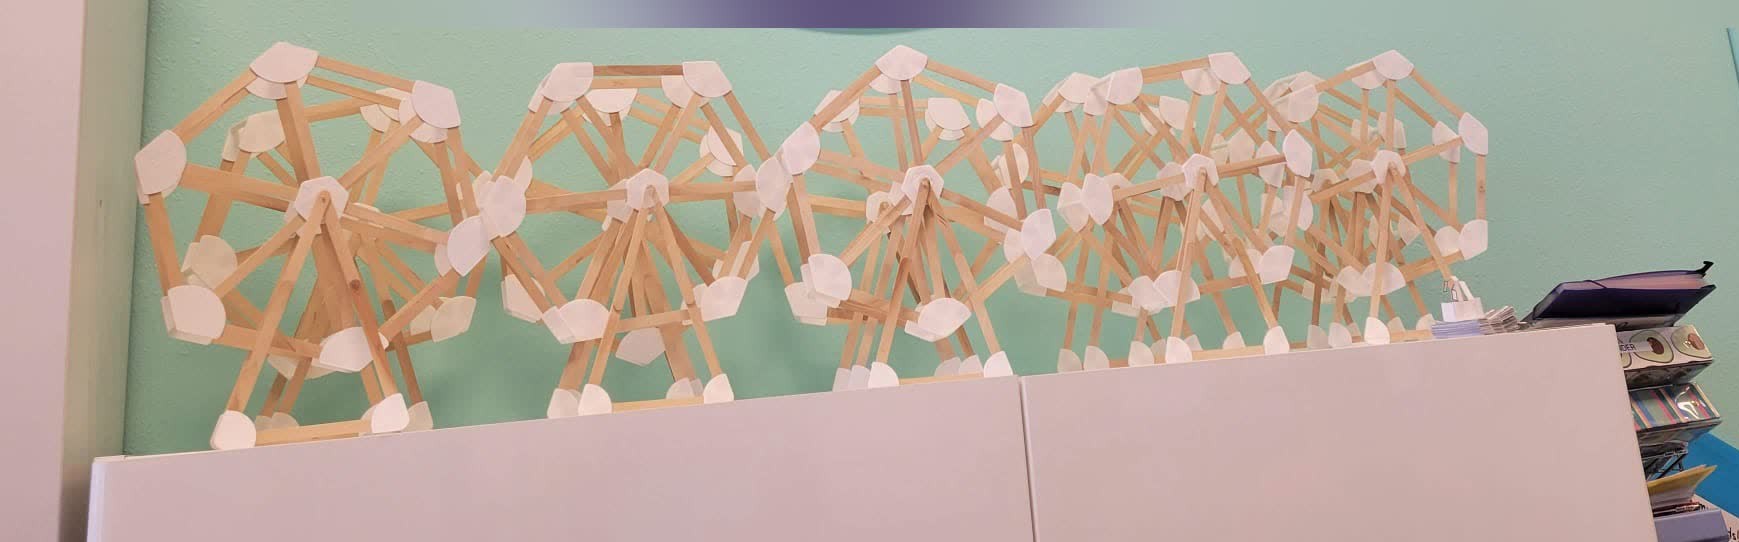
Popsicle-Stick Ferris Wheel Build Kits
Client: A local child development center Deliverable: 35 build-your-own-Ferris-wheel kits for a kids’ craft activity
The Brief
A local child development center wanted a hands-on craft activity kids could build themselves: a Ferris wheel made from ordinary popsicle sticks, easy enough for small hands to assemble on their own. Their first prototype was straws and pieces of paper held together with glue — functional as a one-off, but too fragile and fiddly to hand to 35 different kids. I proposed a 3D printed alternative instead: a set of joints that snap onto sticks and hold them at the exact angles needed to form a hexagonal wheel, repeated across 35 kits.
Working Out the Geometry
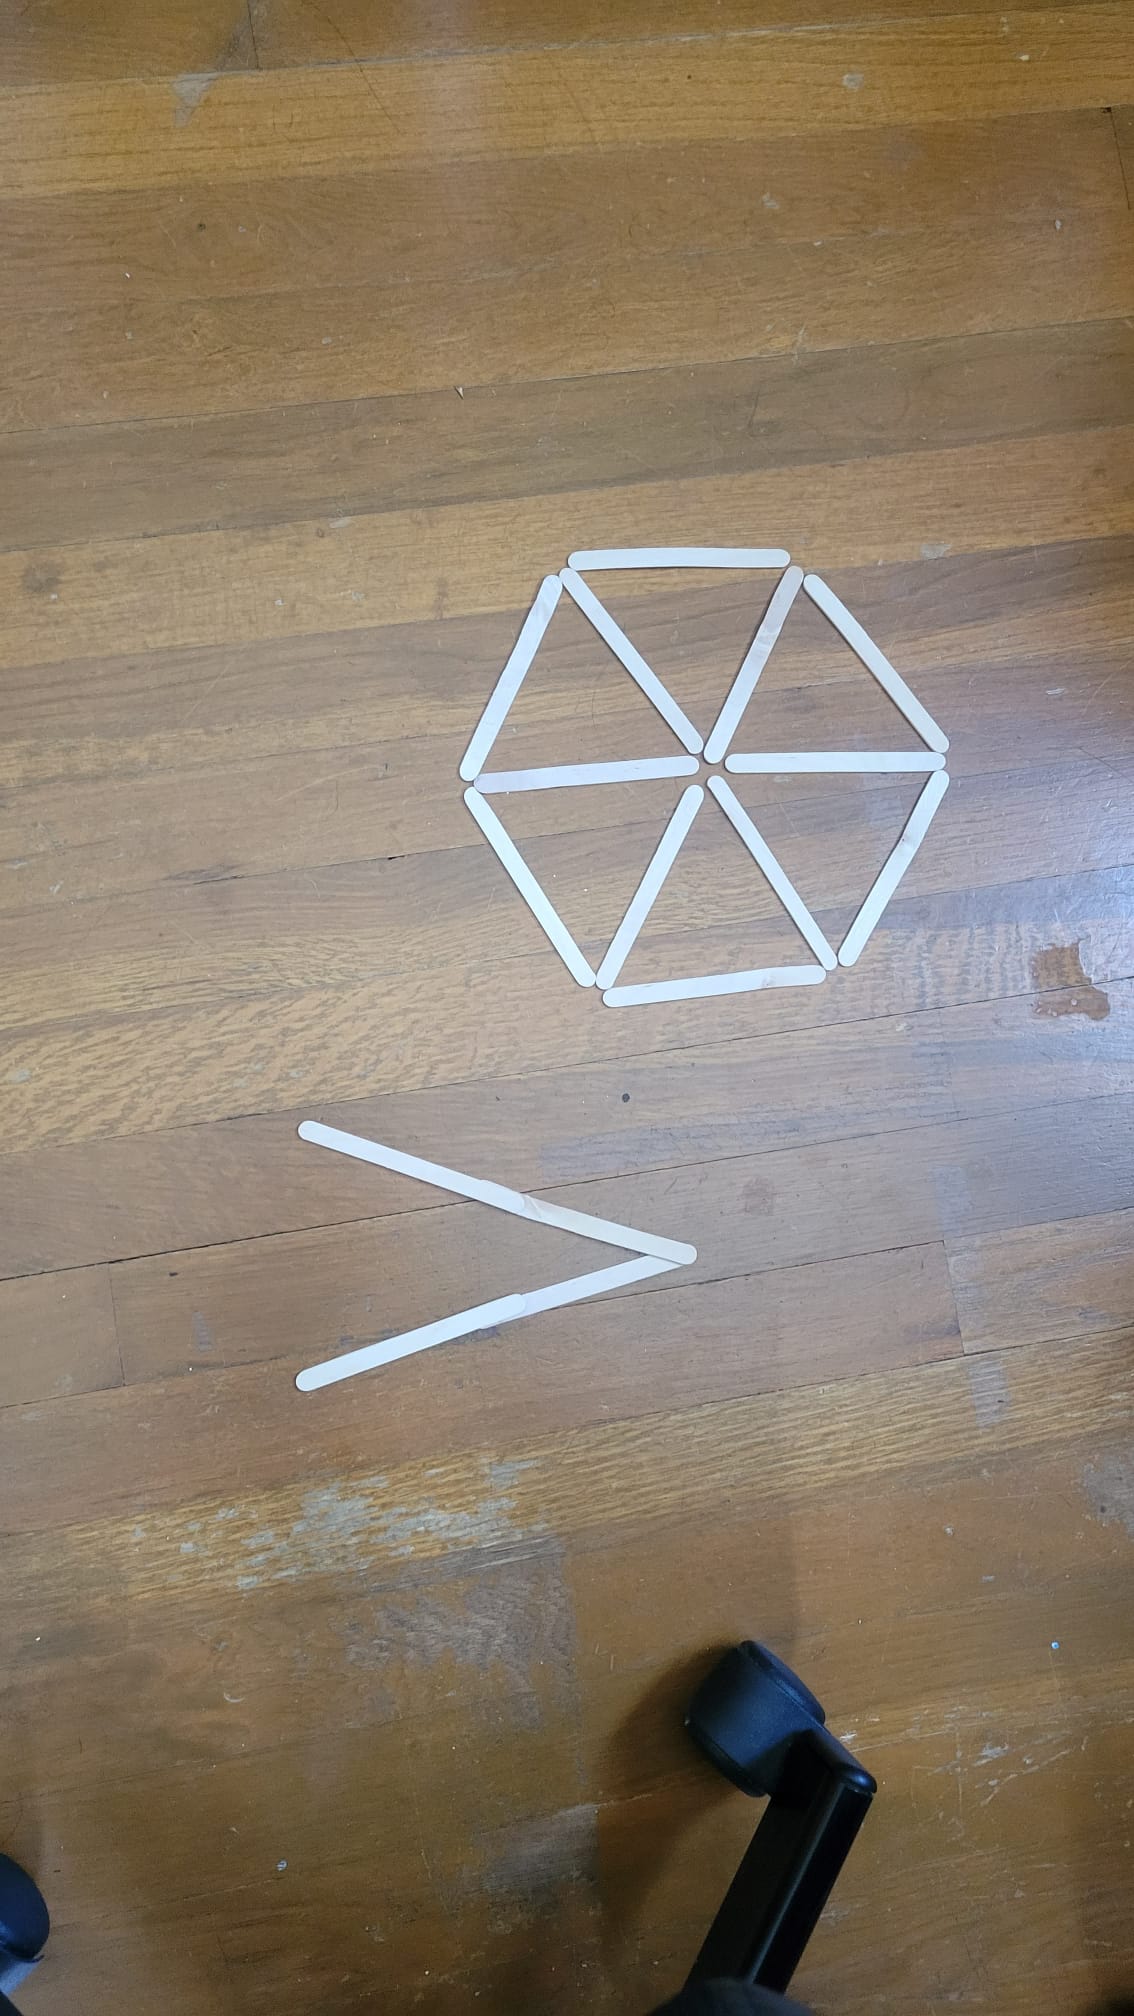
A popsicle-stick Ferris wheel is really just two hexagonal trusses connected by a center hub, so the whole design came down to getting a handful of joint angles right. I worked the geometry by hand first — law of sines to pin down the triangle formed by each spoke and rim segment — before touching CAD.
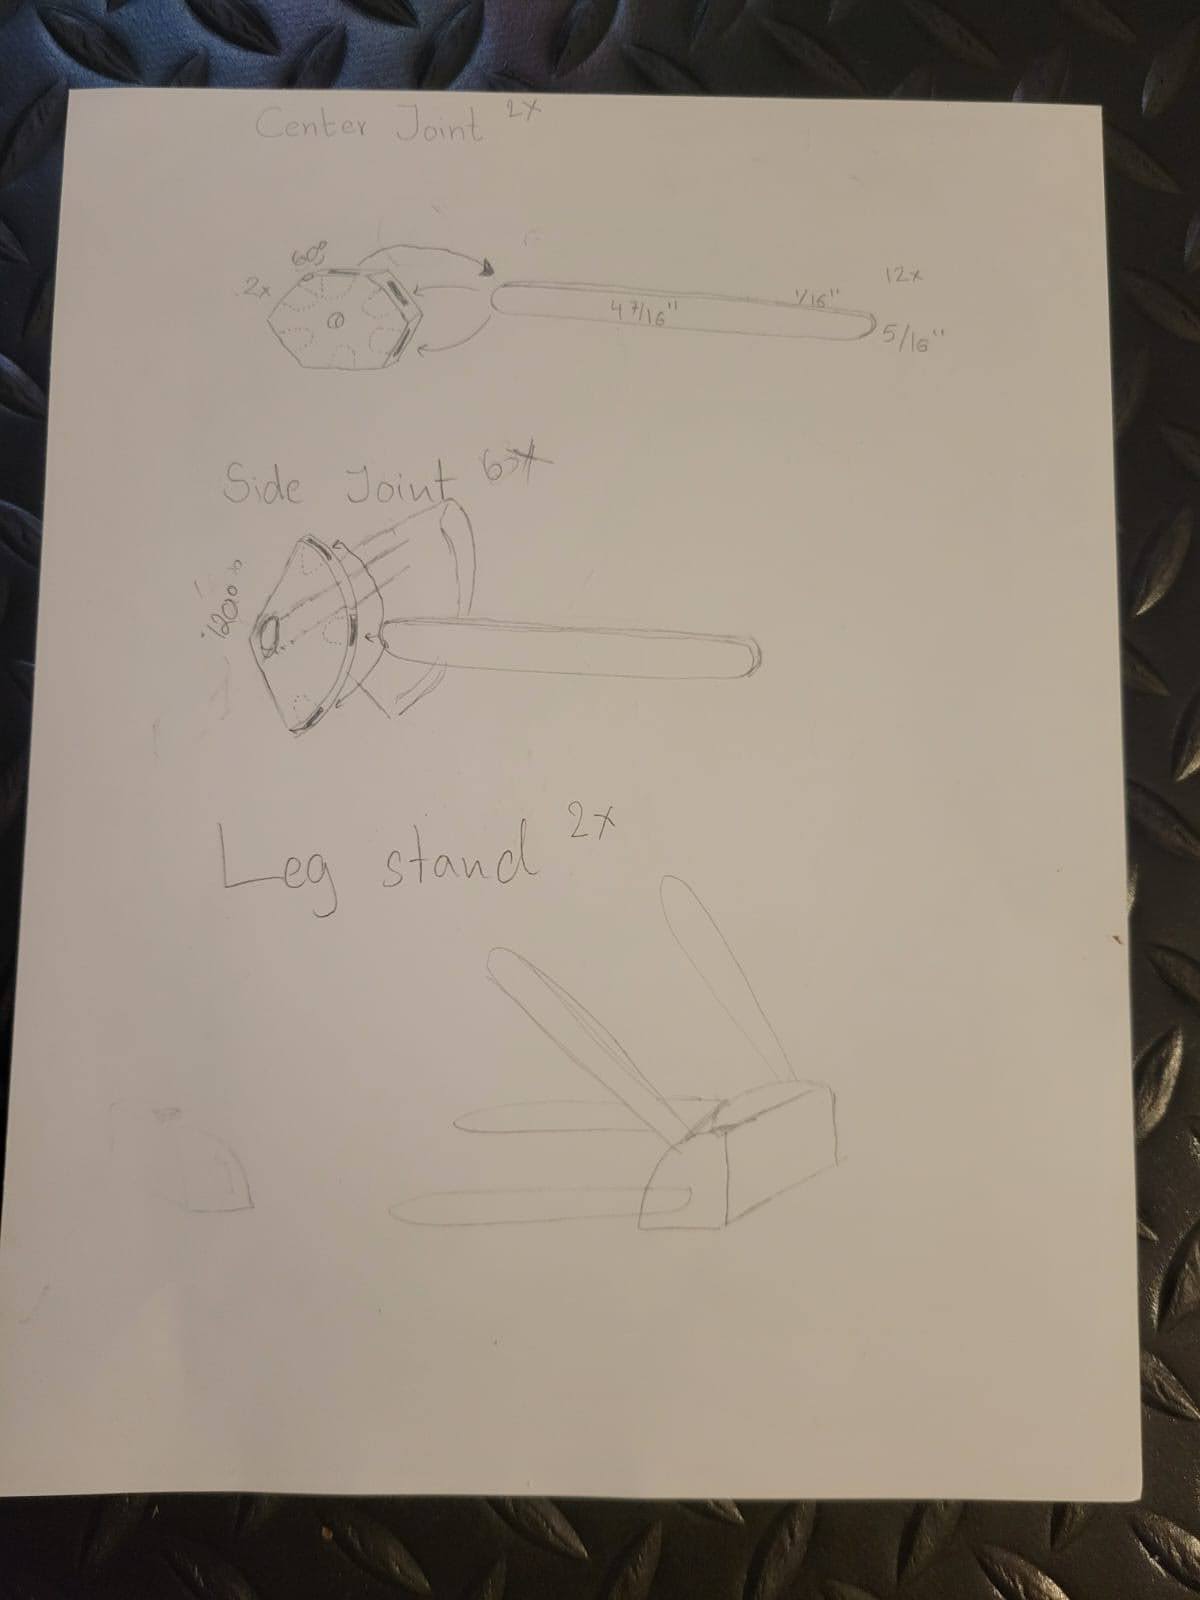
That math turned into a parts catalog: a 2x center joint, a 6x side joint, and a 2x leg stand, each with its own angle and stick-pocket dimensions sized to a standard popsicle stick.
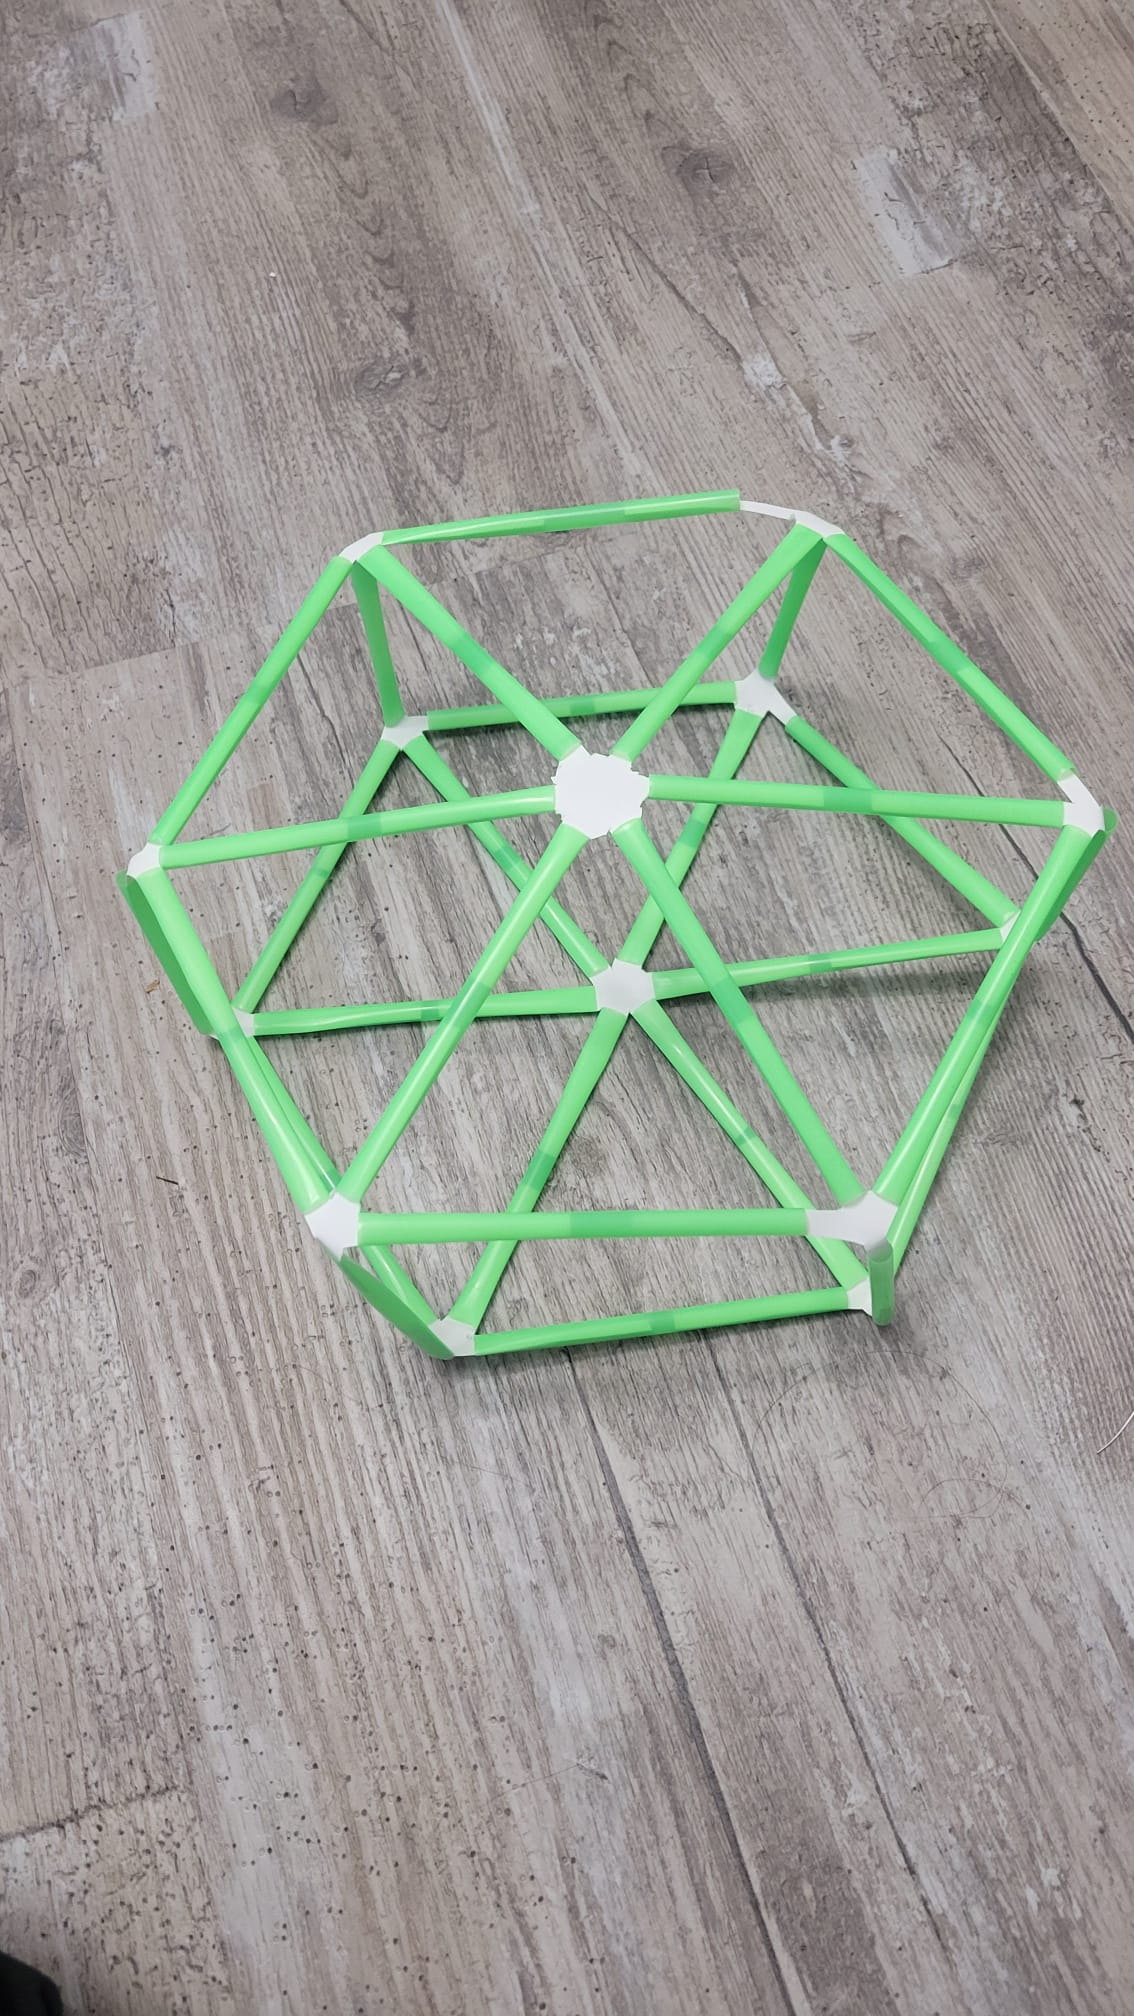
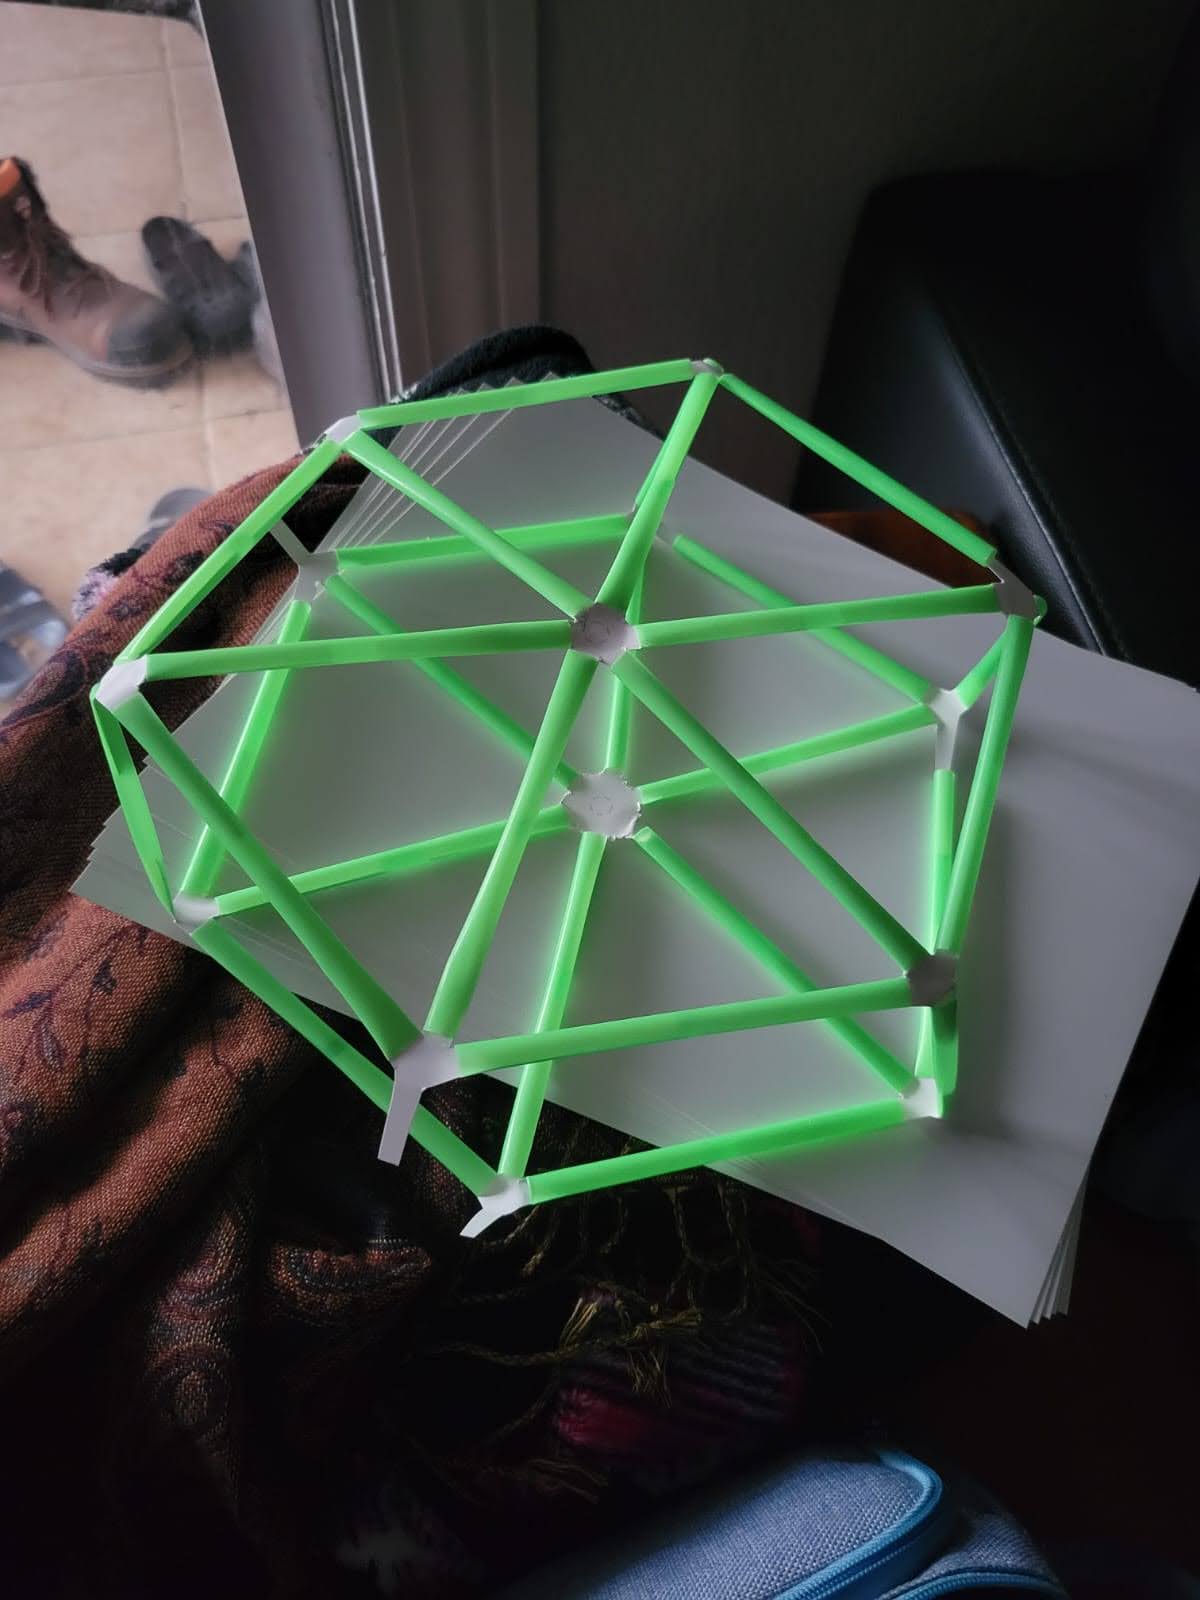
This was the first prototype — a wheel built from green straws and paper before committing to the full production run, which made it easy to spot fit issues against the light:
Modeling and Printing
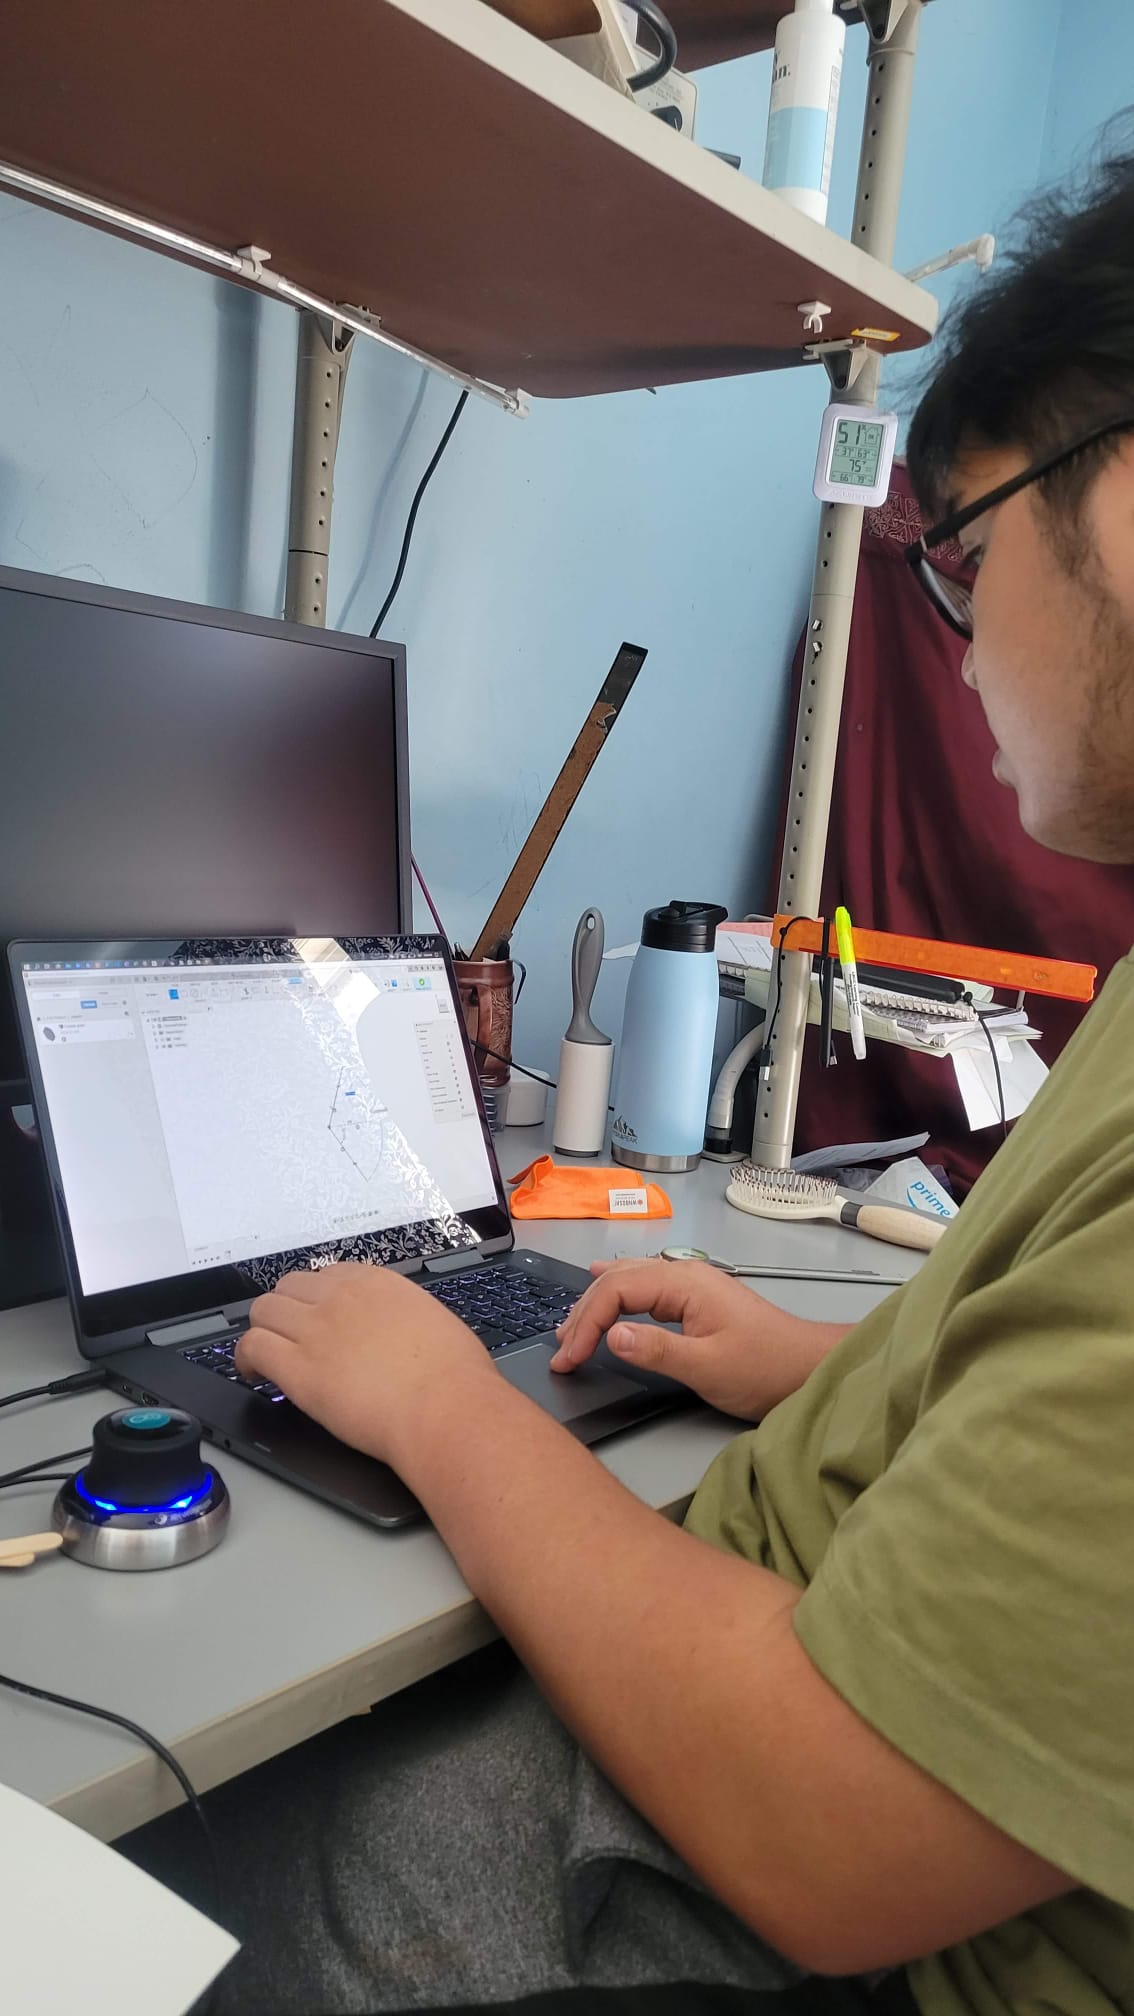
I modeled the joint family parametrically in Fusion 360 so the stick-pocket width, wall thickness, and hub angle were all driven off a few variables — useful once I started iterating on fit (the first pass was too tight for a 6-year-old’s hands to assemble without snapping a stick).
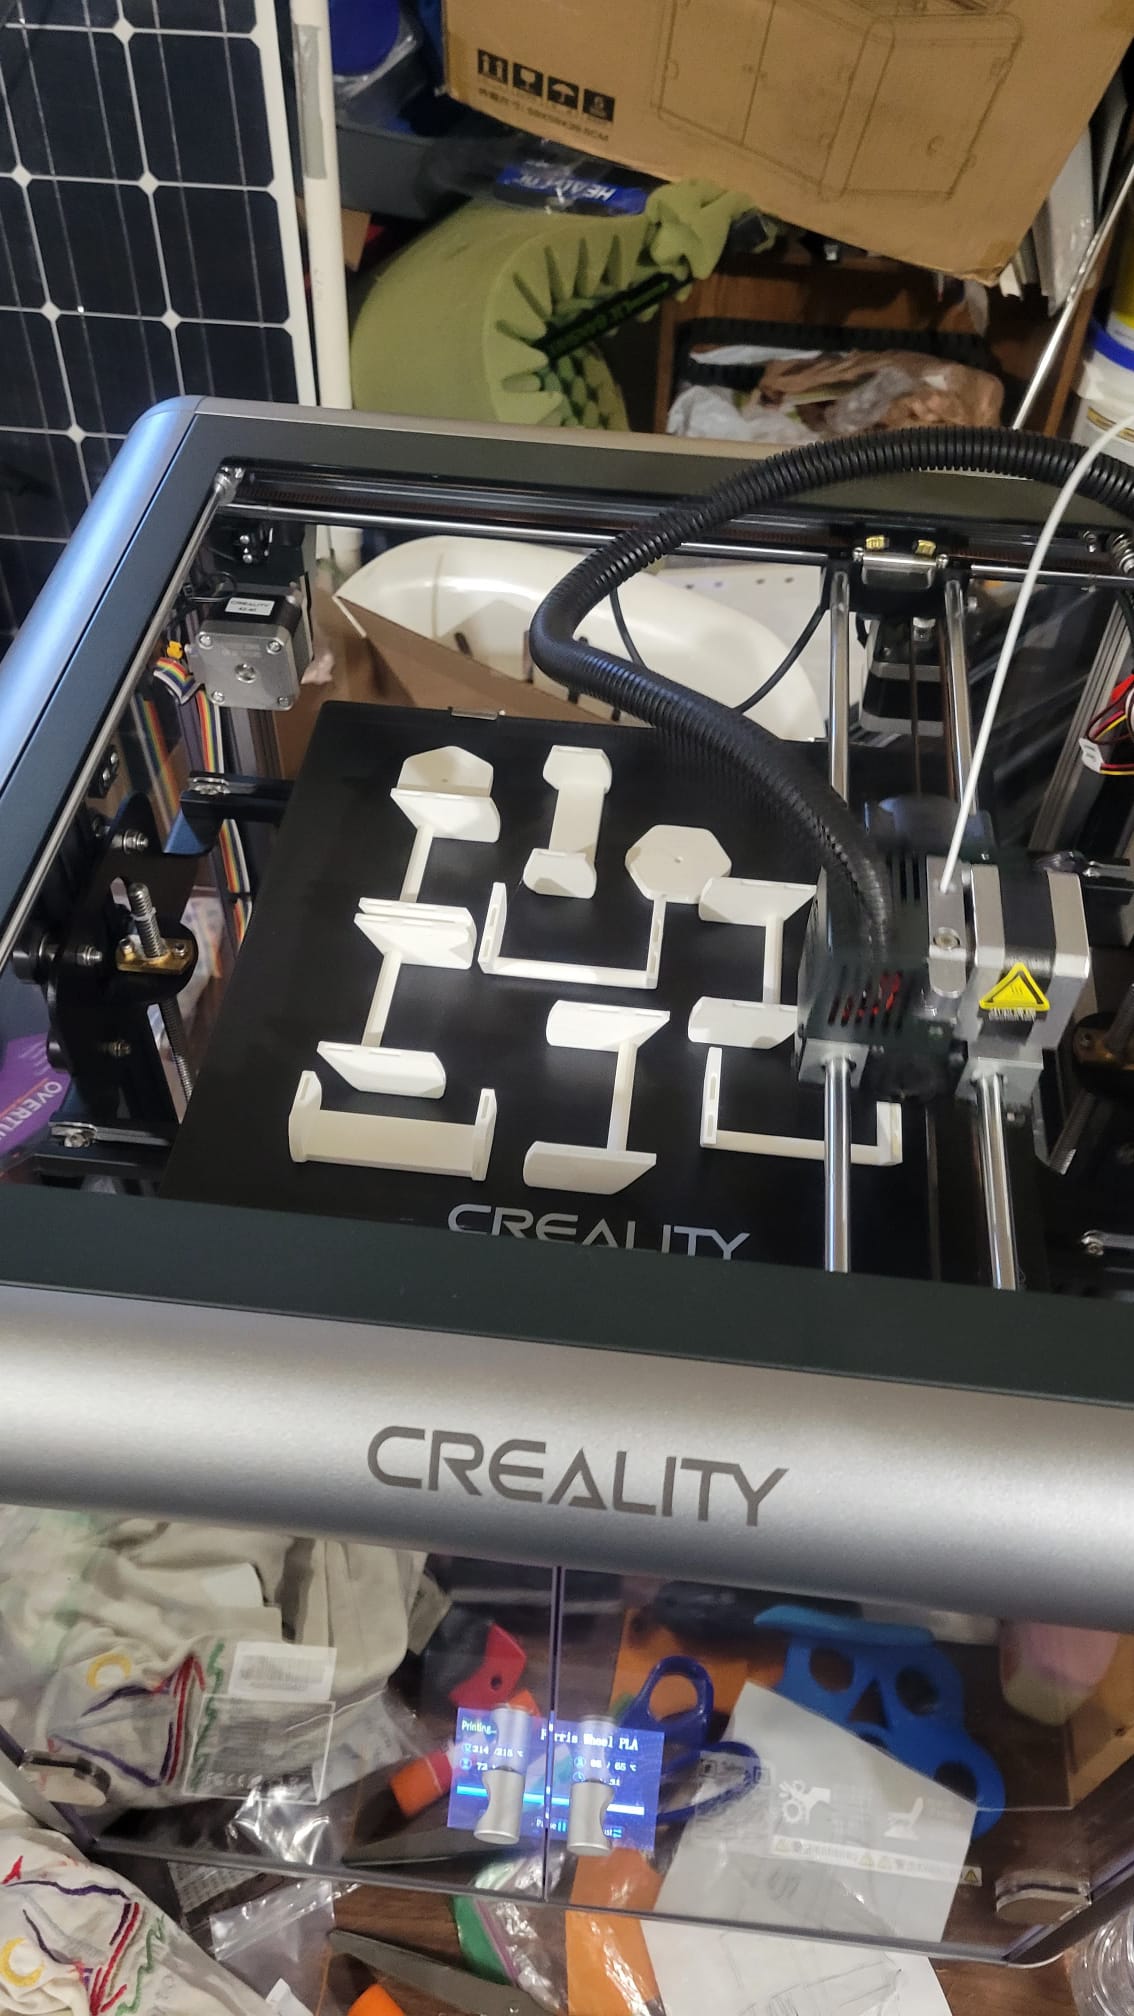
Each kit needed 10 joints, so the bulk of the work was production printing — nesting parts on the bed, slicing in PrusaSlicer, and running a Creality FDM printer through dozens of plates to get to 35 complete kits’ worth of hardware.
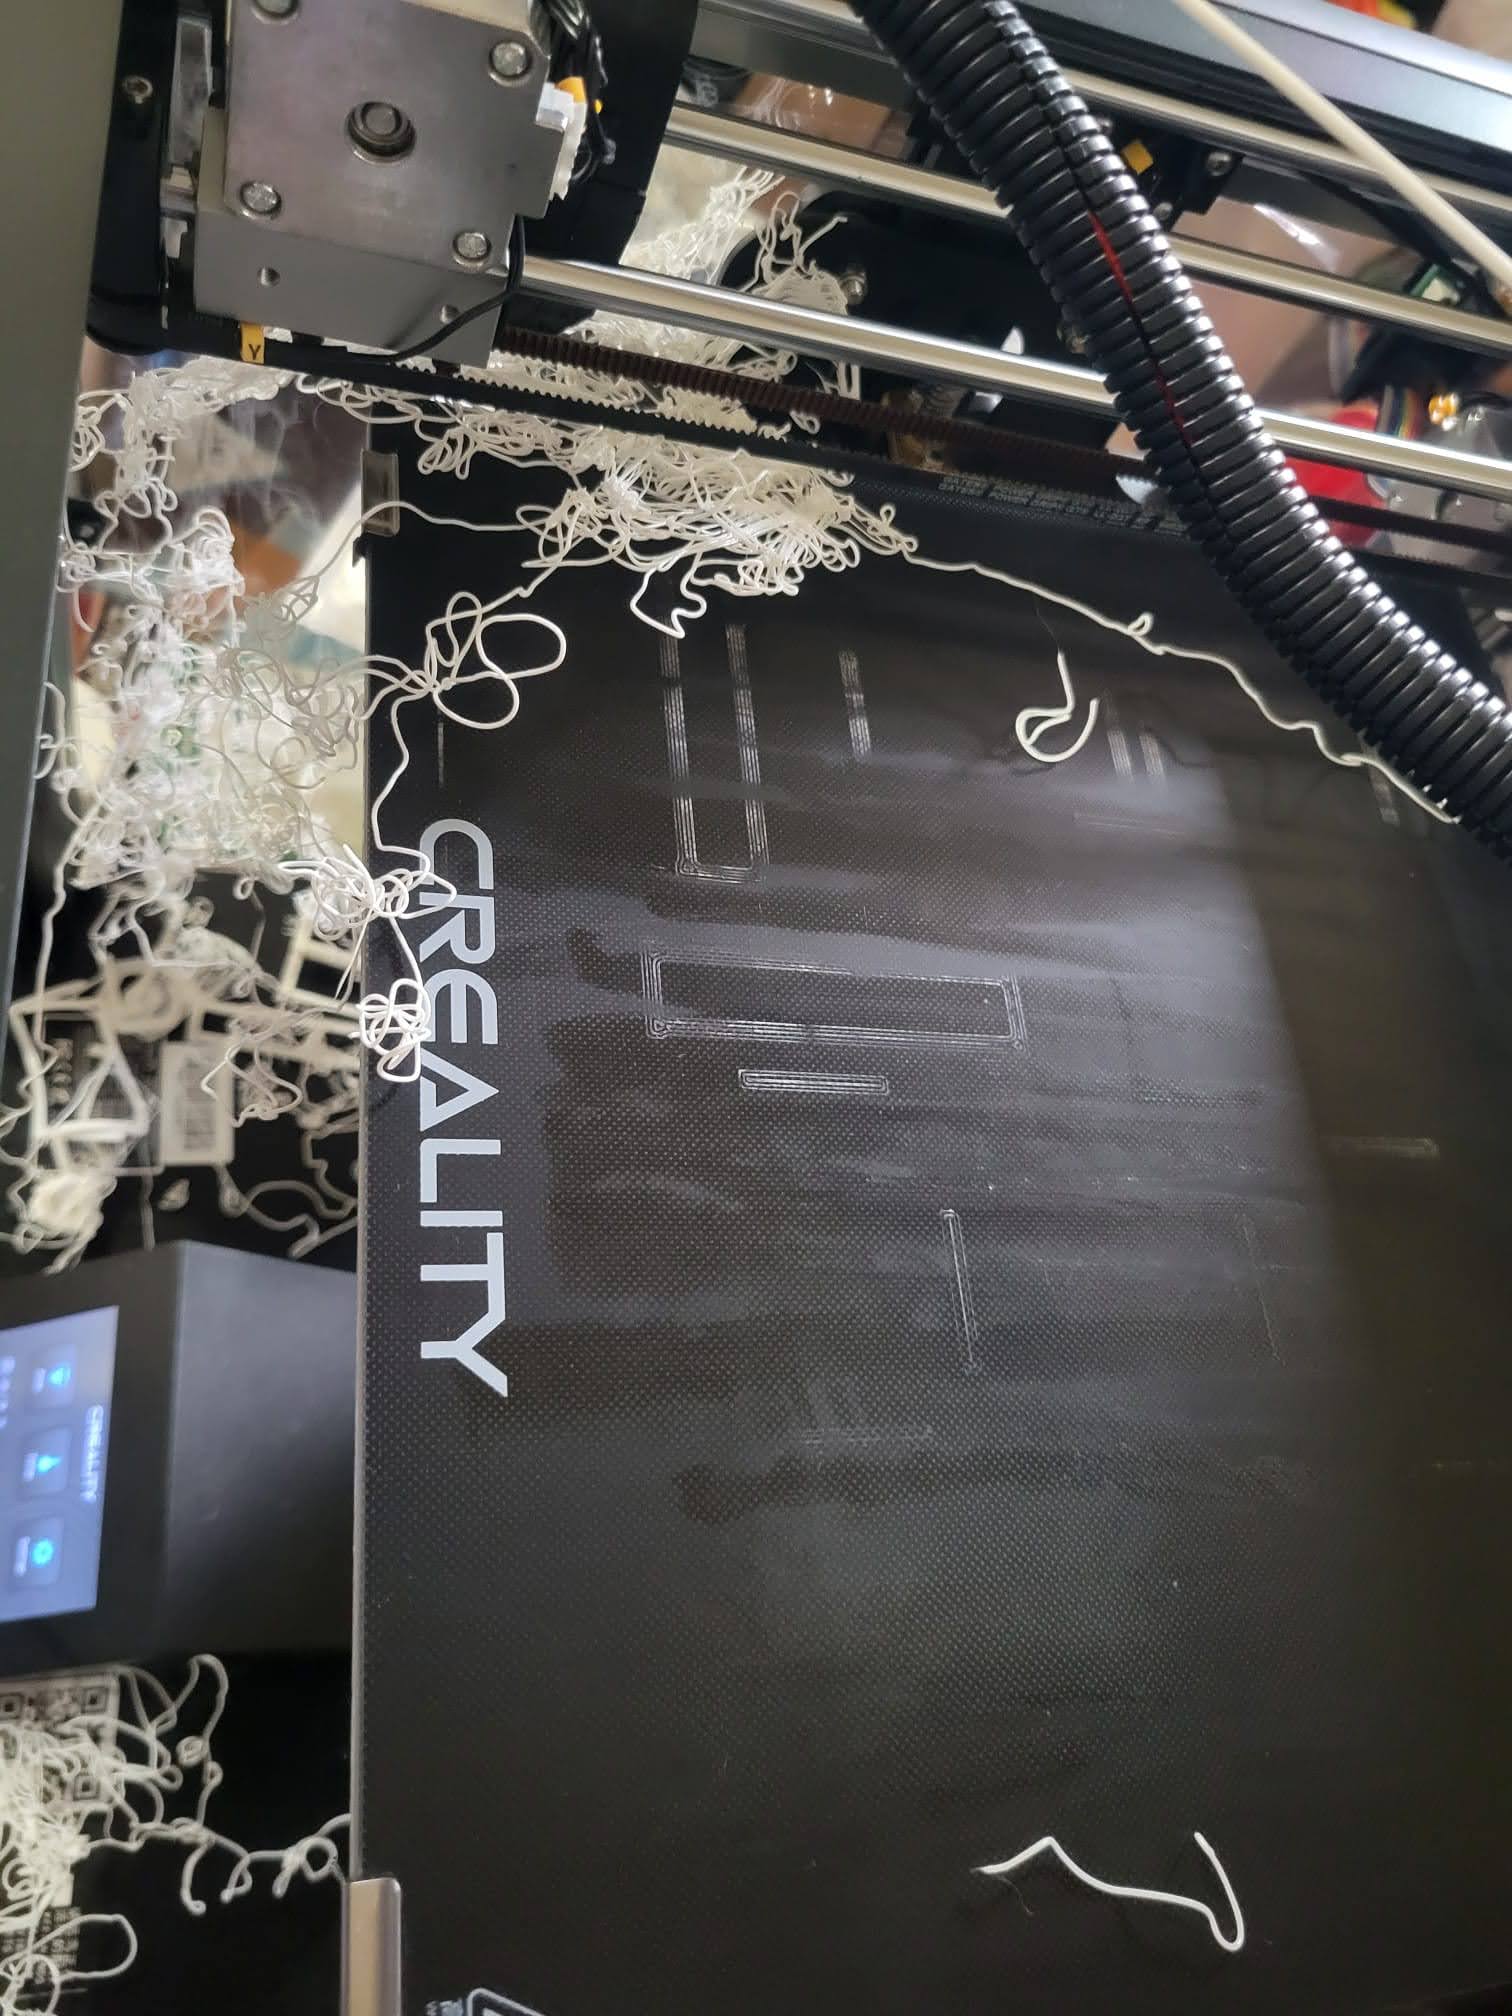
Not every plate finished clean — long unattended runs occasionally ended in a tangle of stringing instead of parts:
Prototyping the Assembly
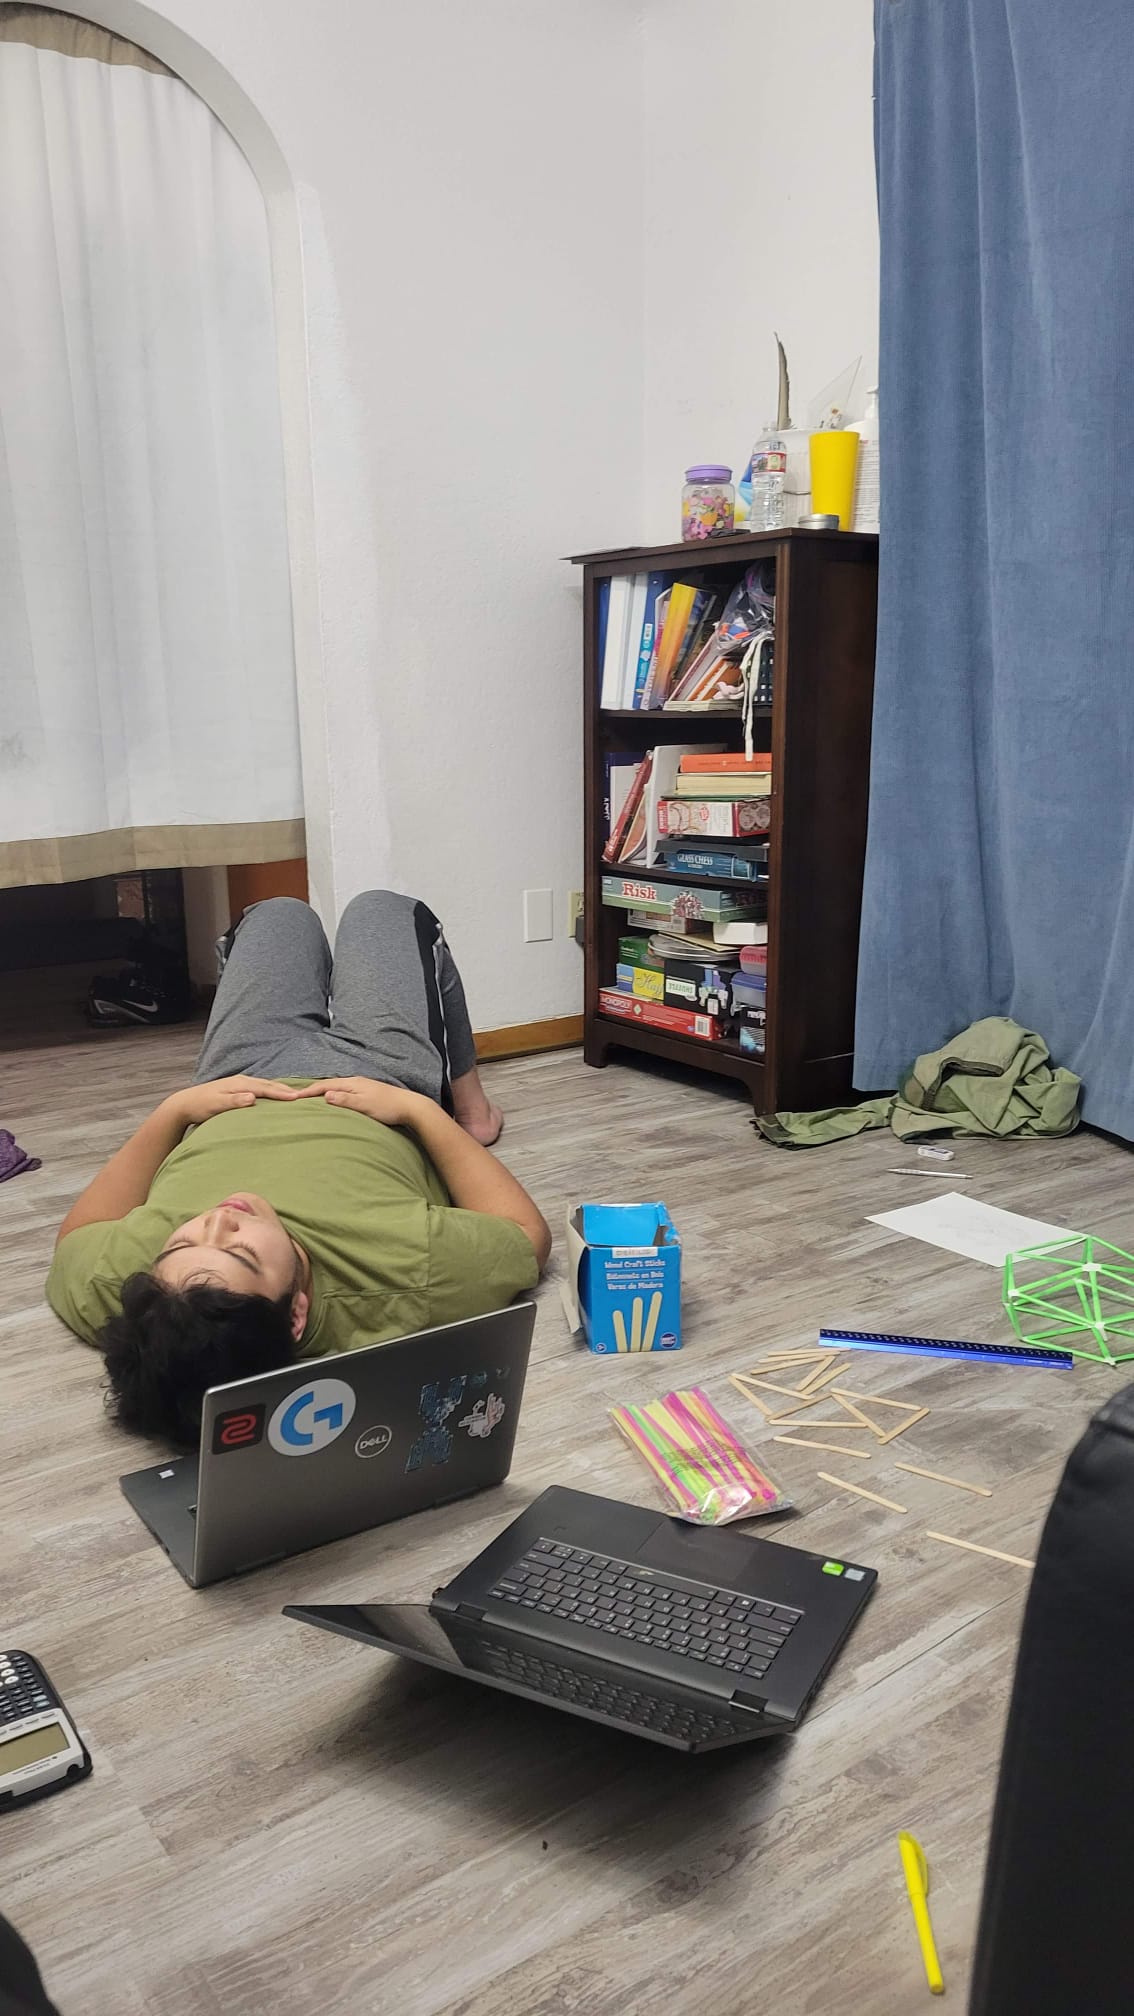
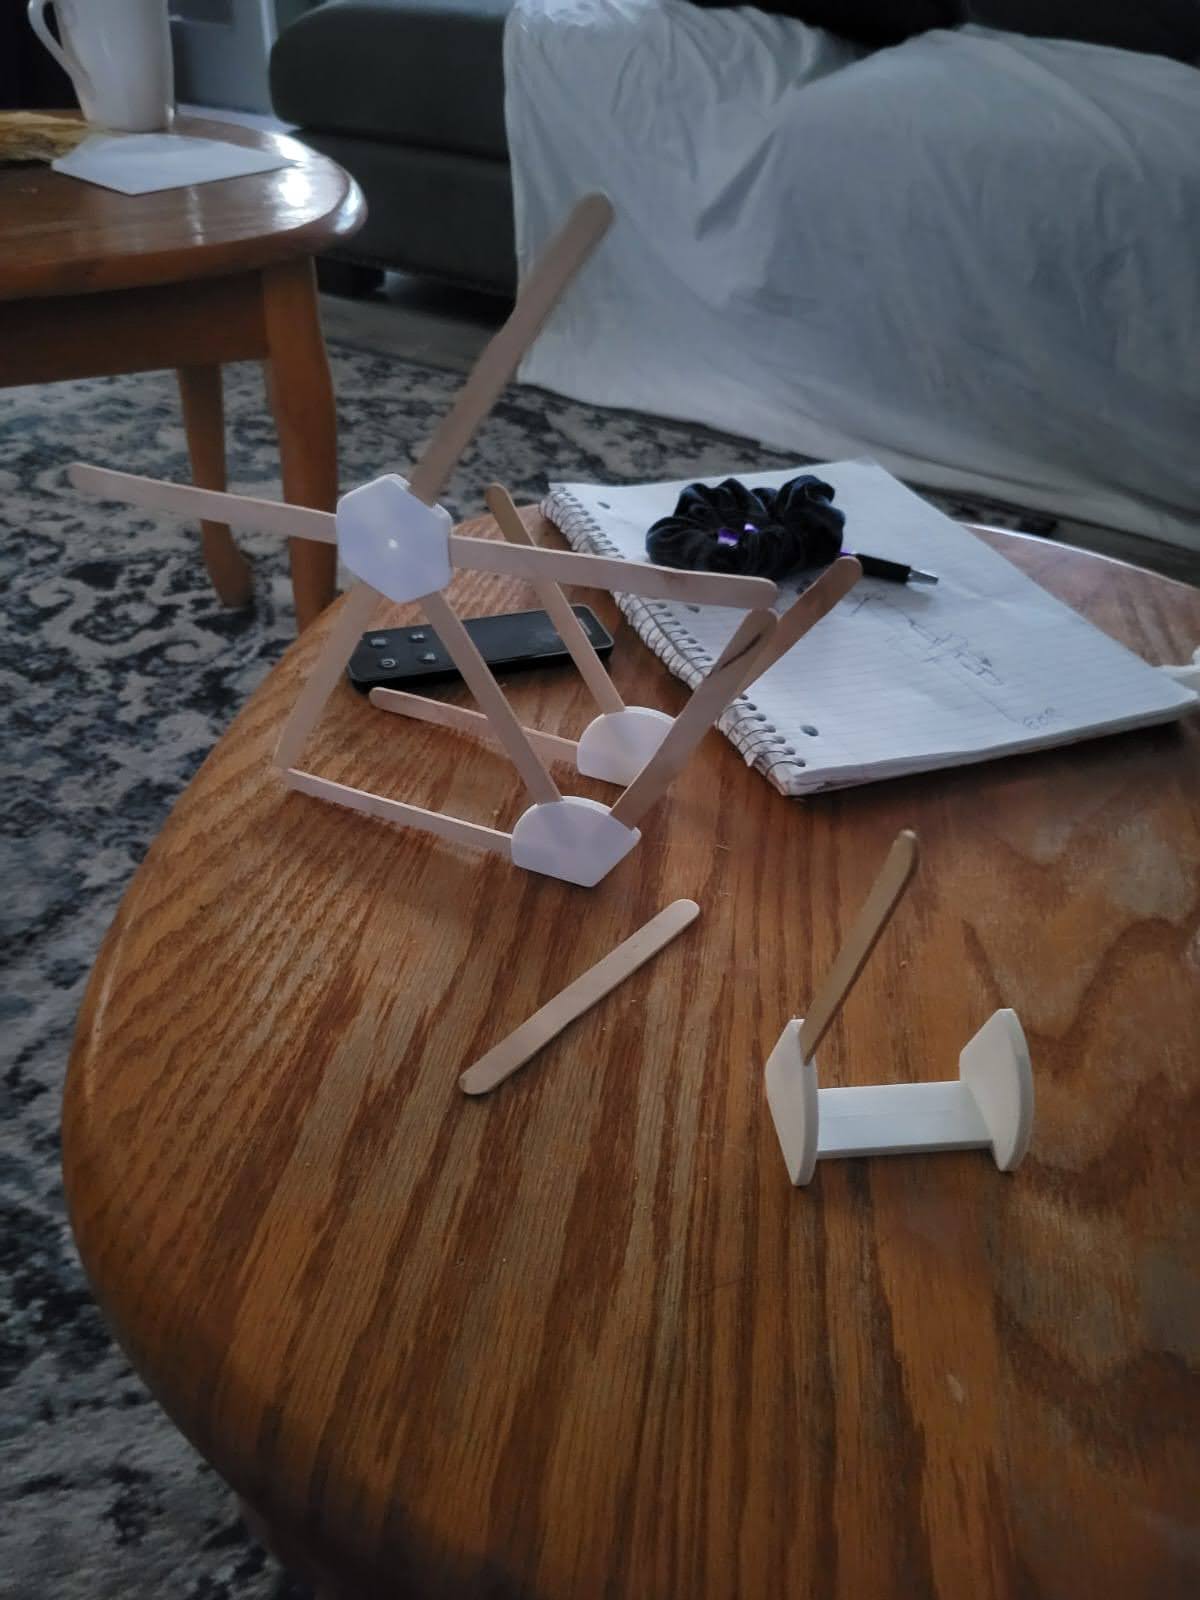
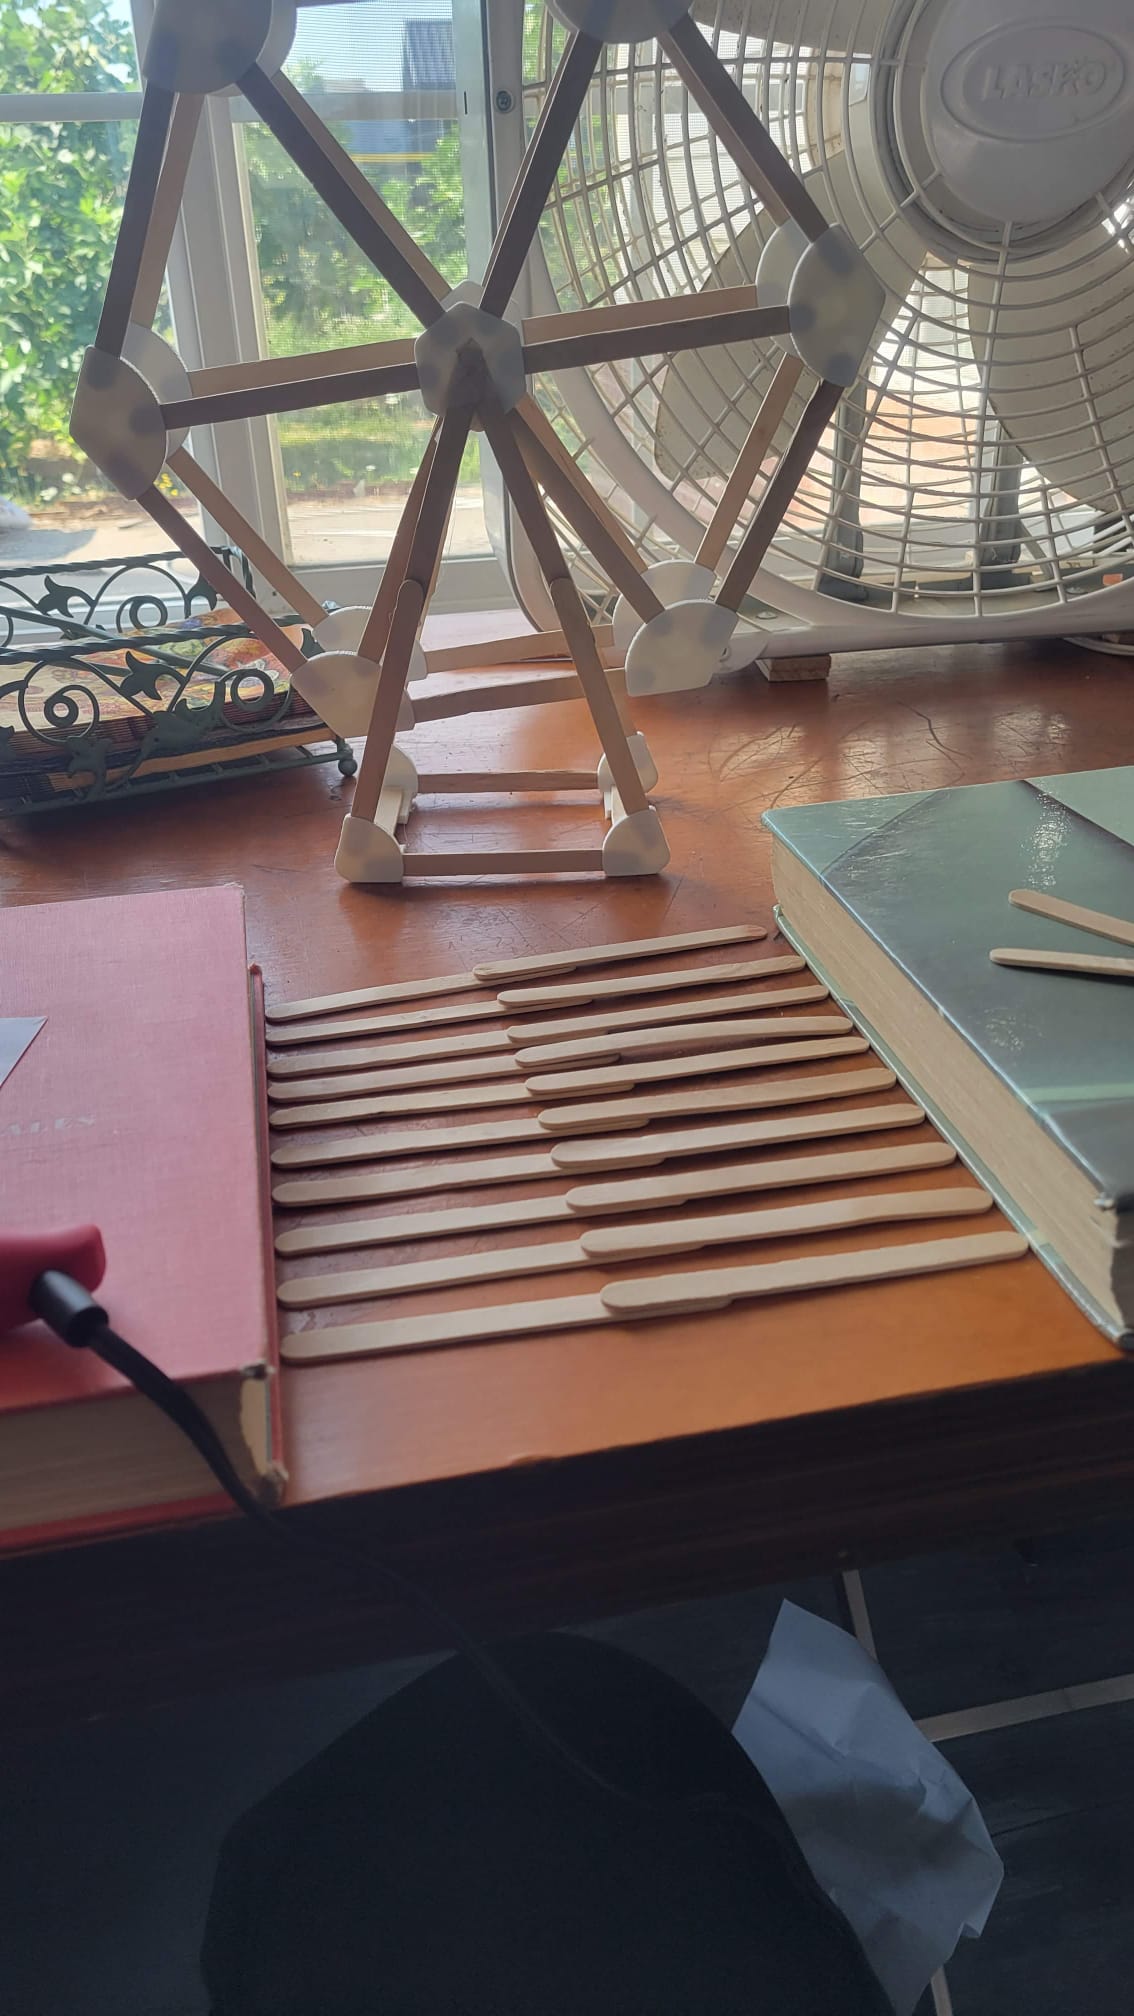
Before locking in dimensions, I mocked up wheels at the kitchen table with loose sticks and an early joint set, checking that a hexagonal rim actually closes up cleanly and that the hub holds the cross-spokes at the right tension.
The Finished Kits
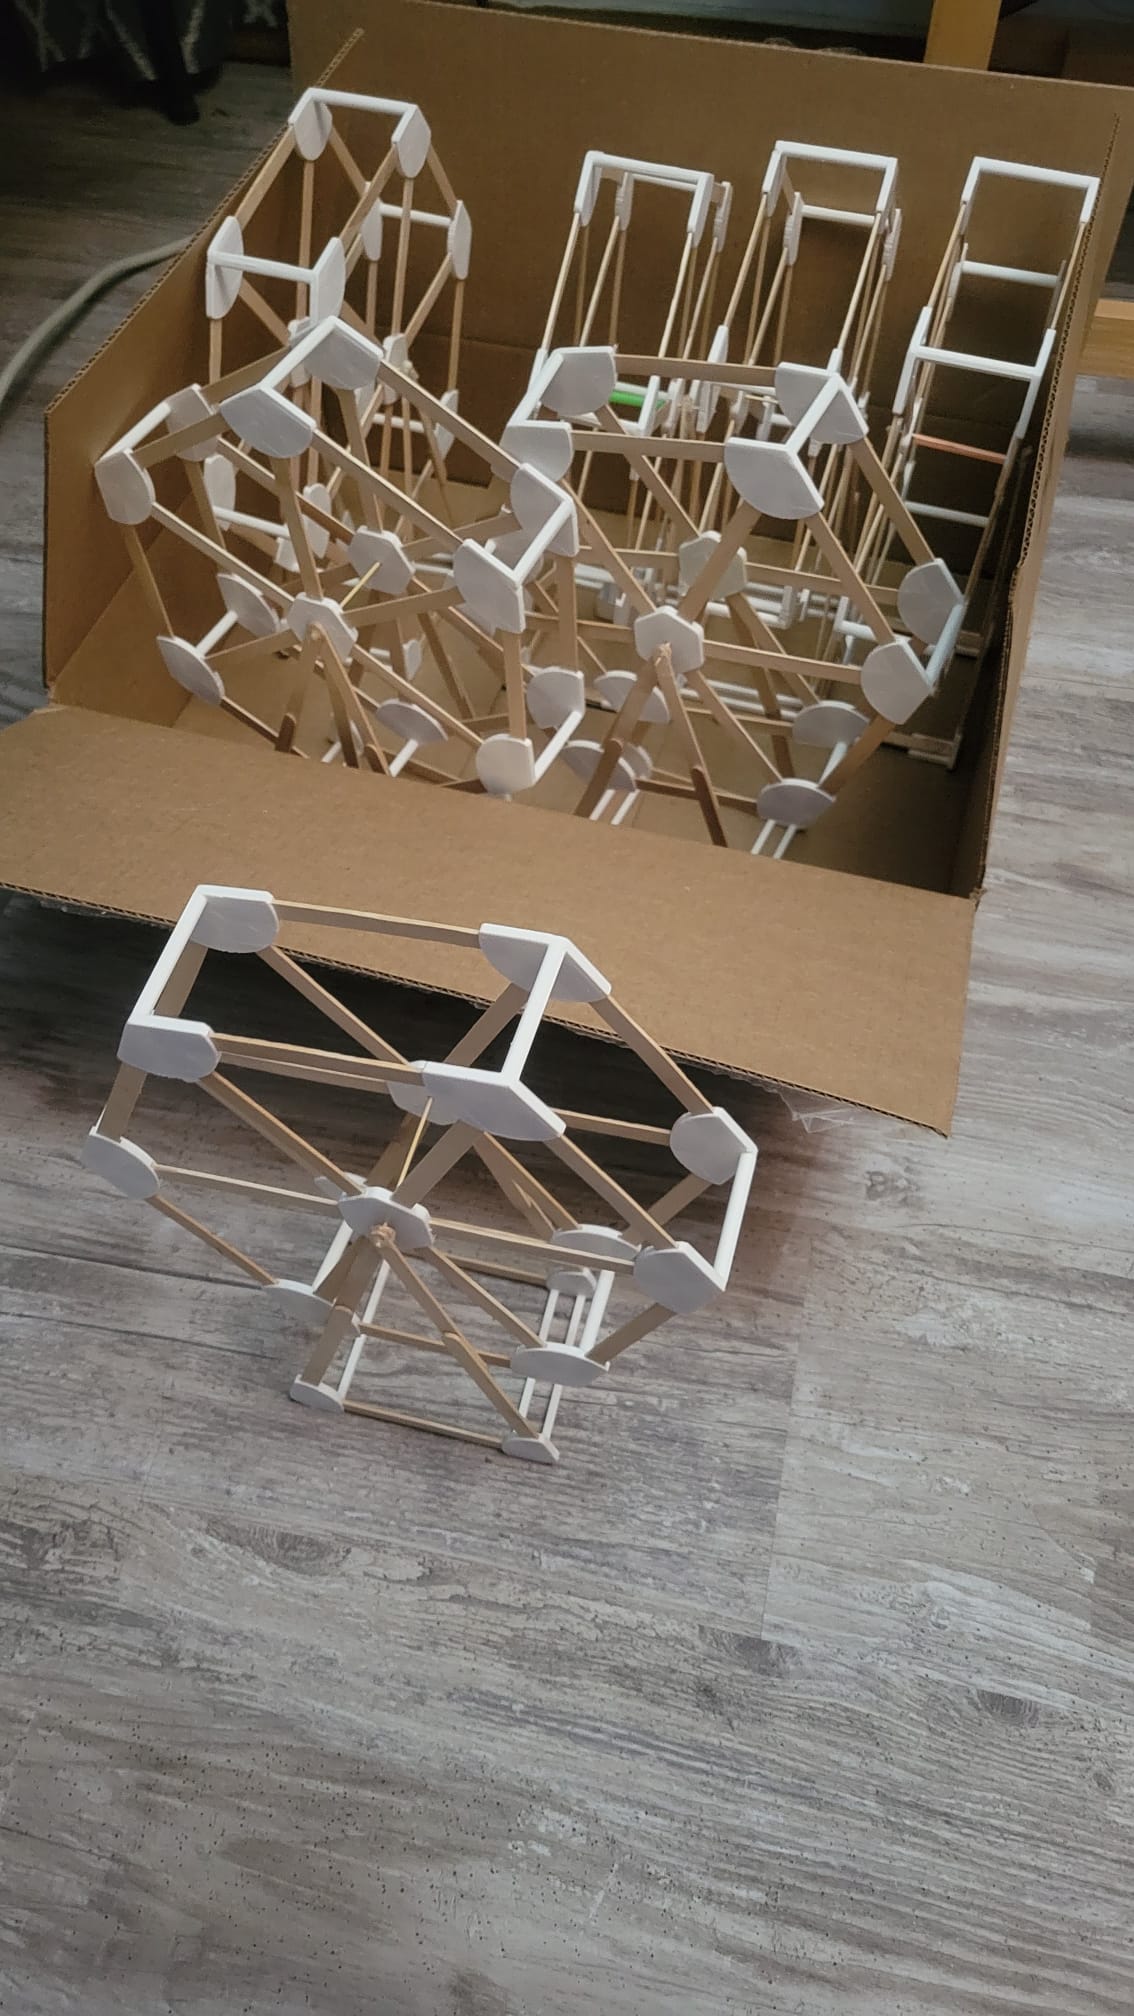
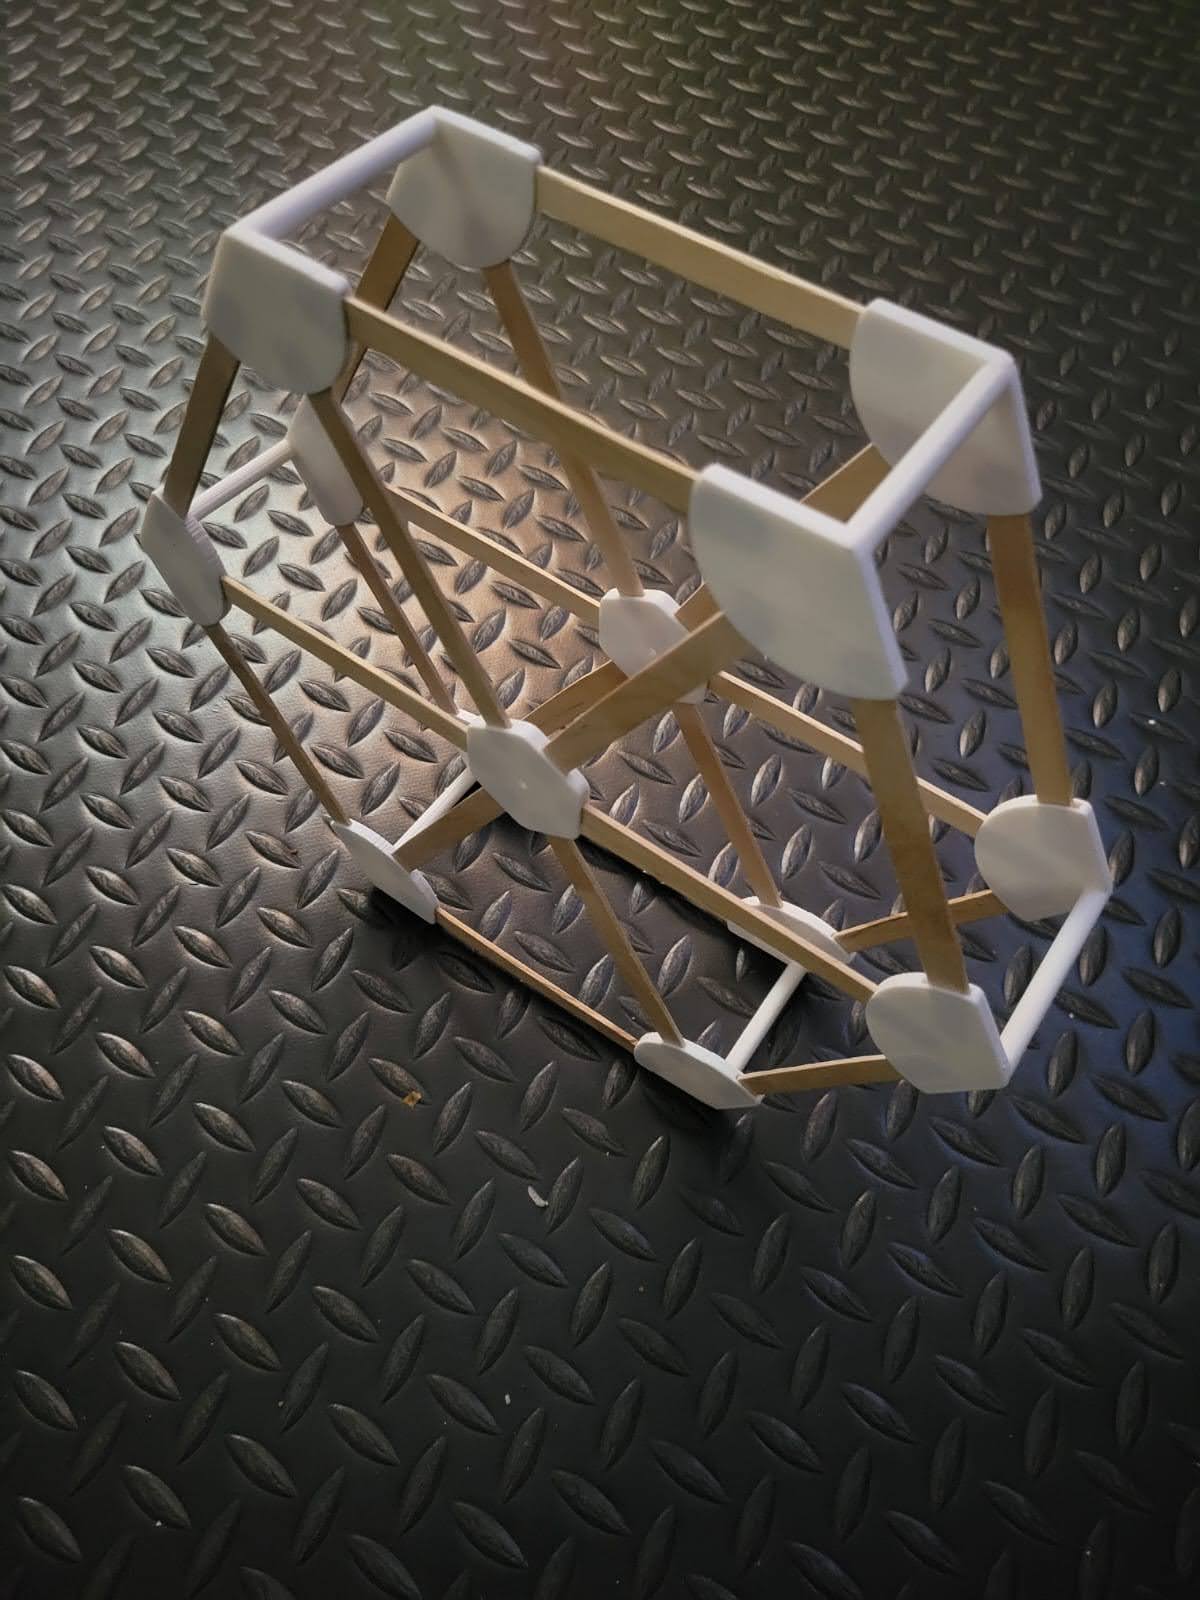
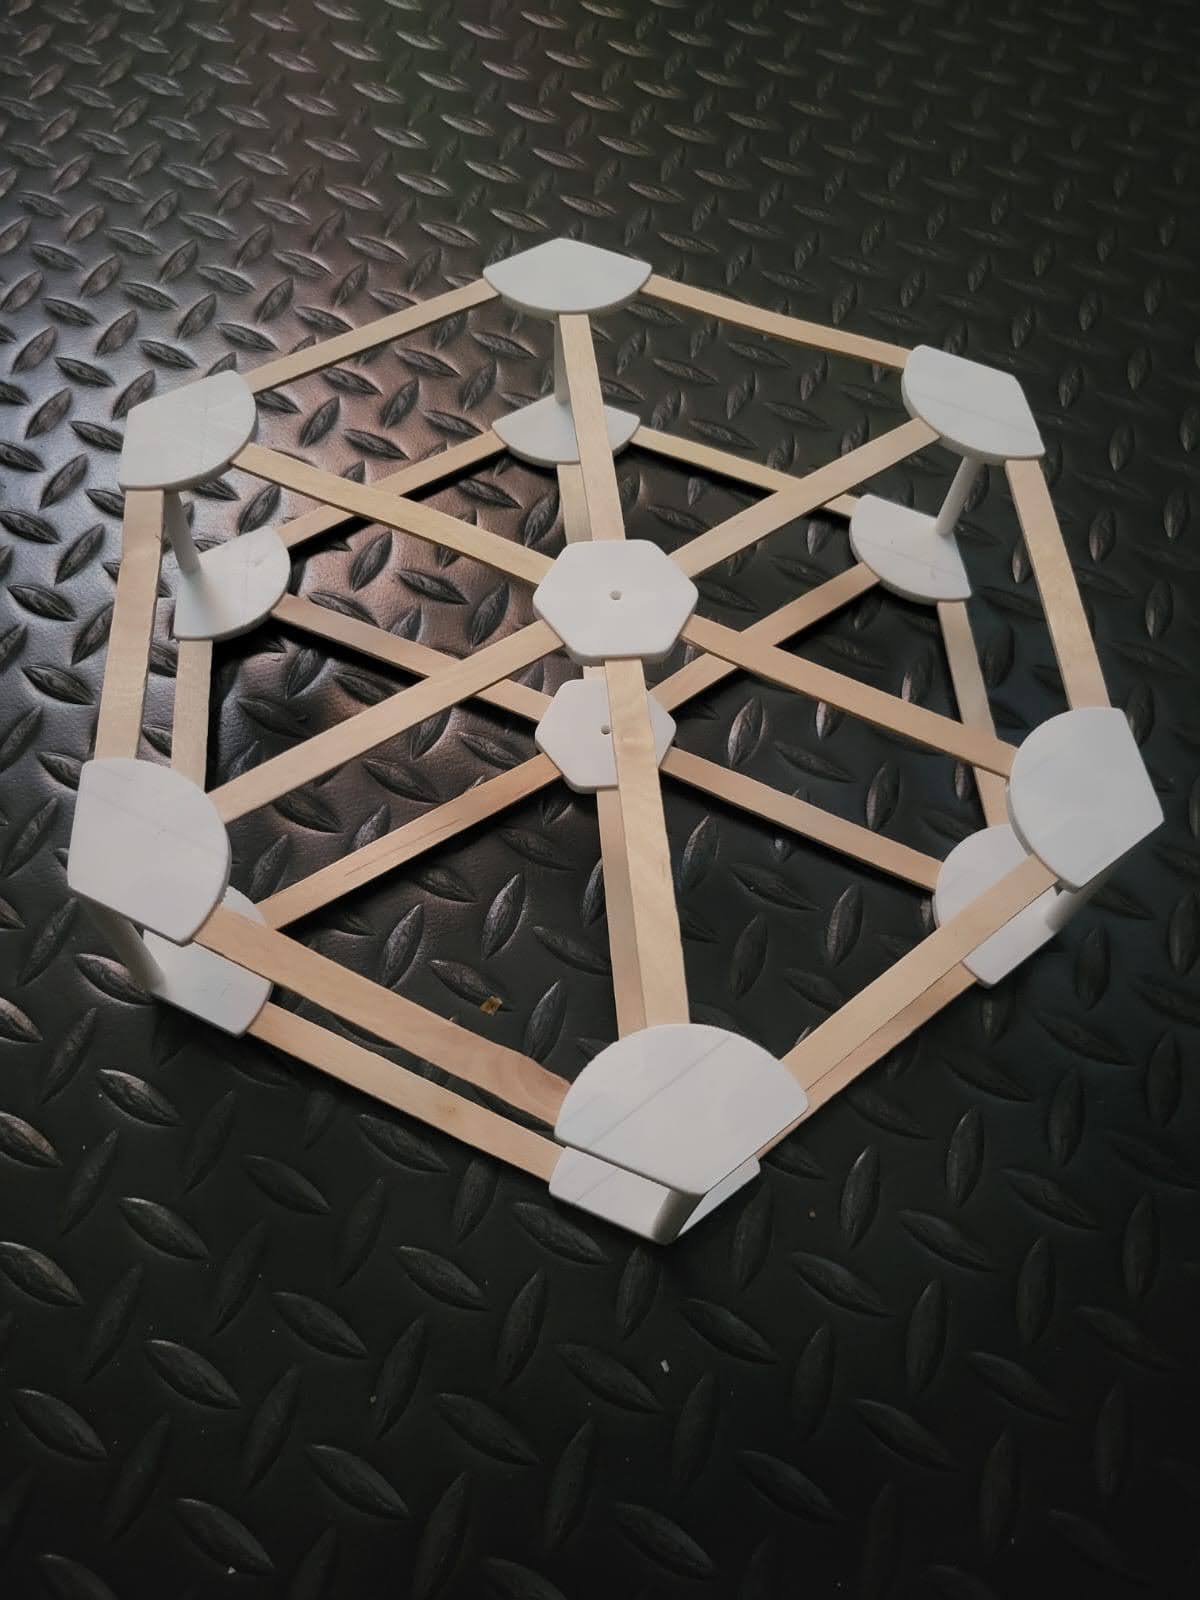
35 kits shipped out and went up on display at the center:
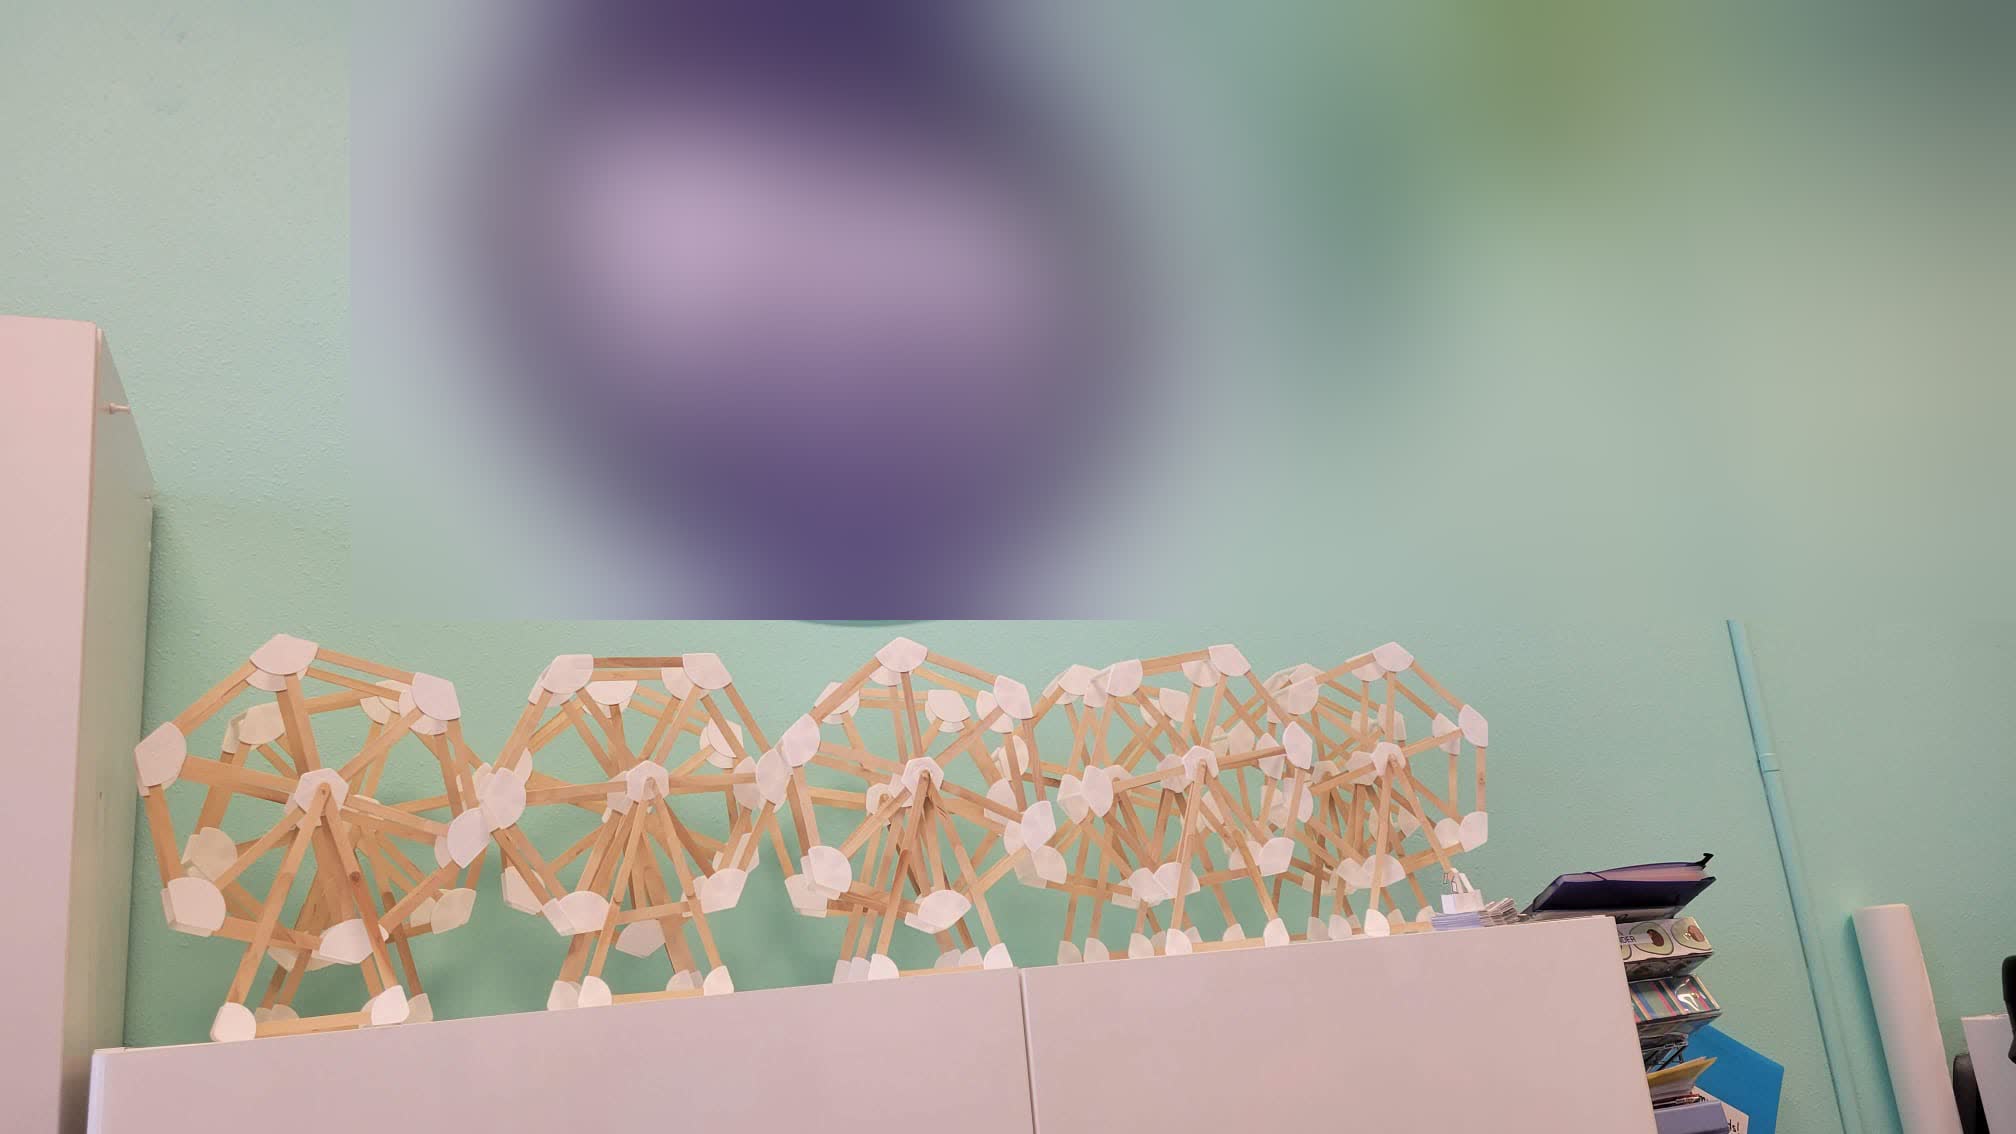
Status: Complete — 35 kits delivered and installed.